
Last updated October 31, 2026
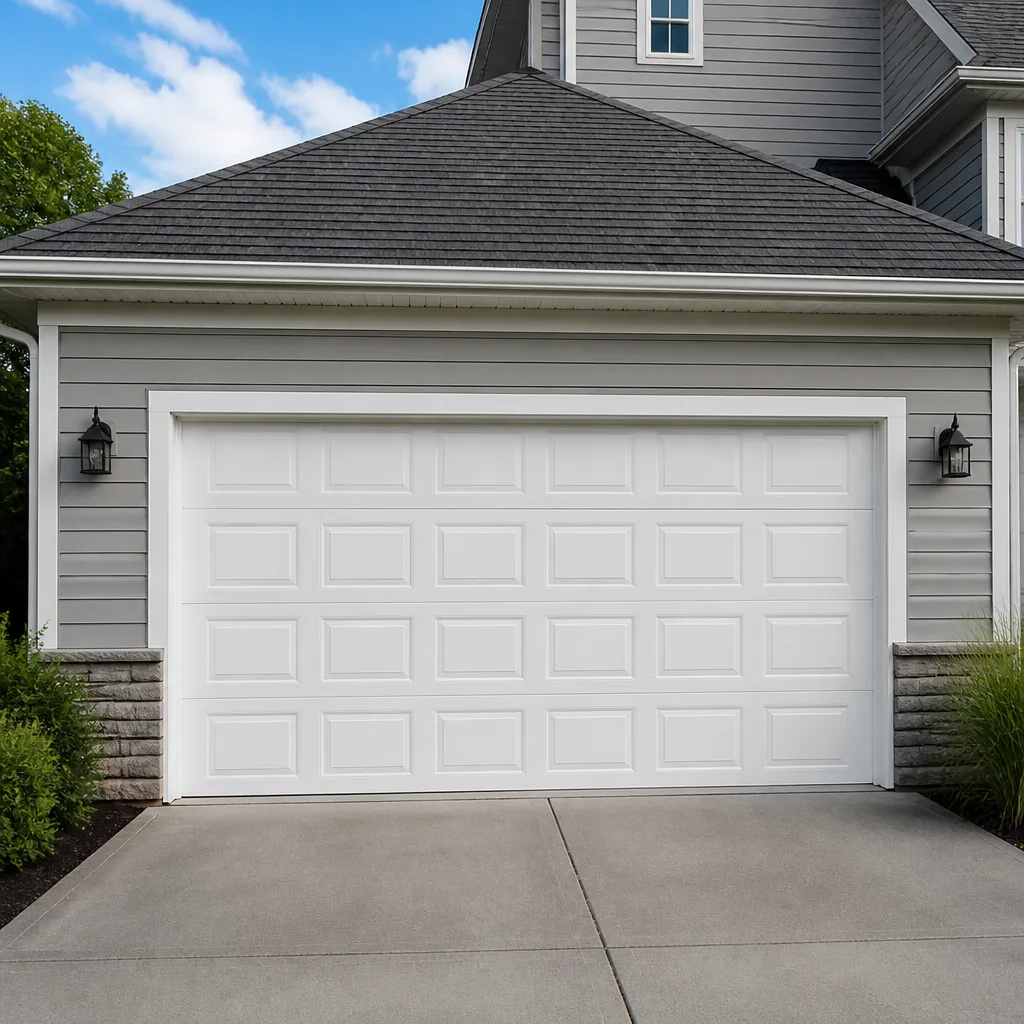 Raised-panel steel
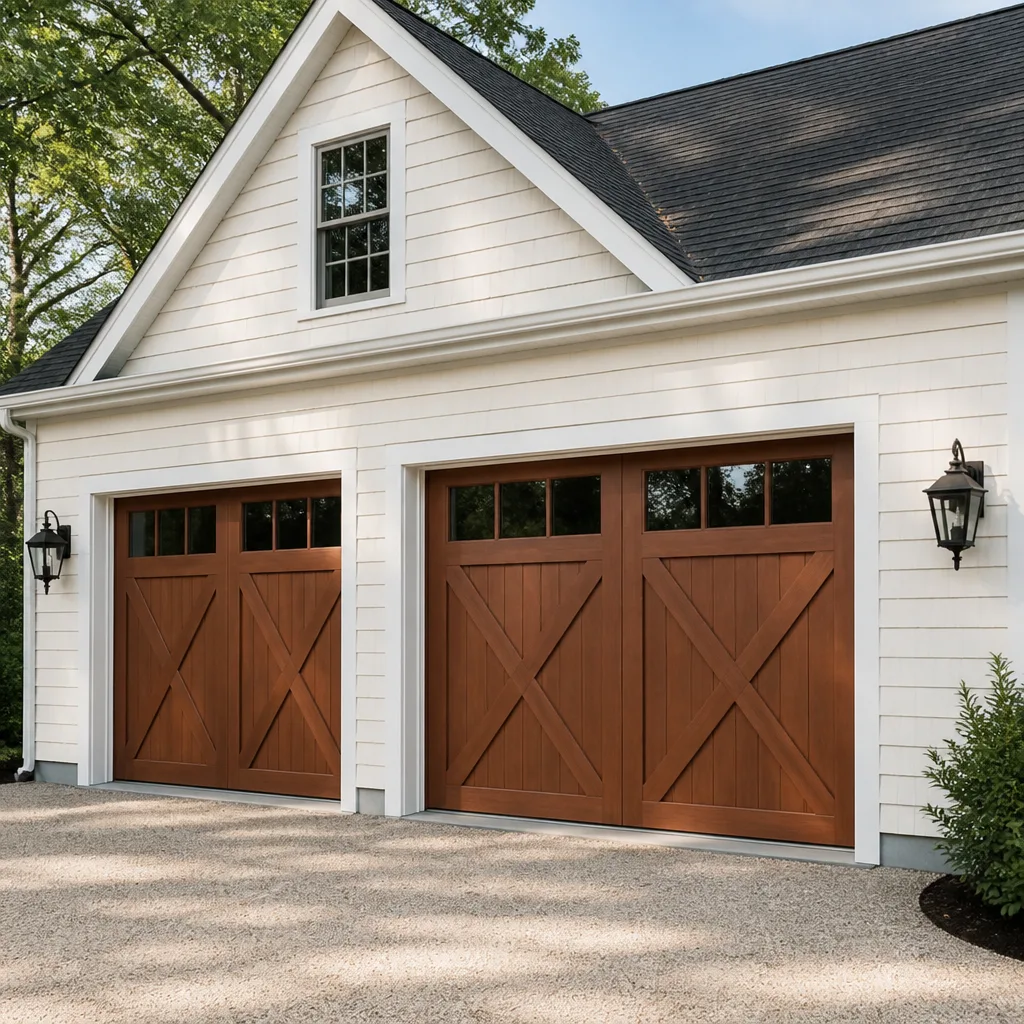 Carriage house
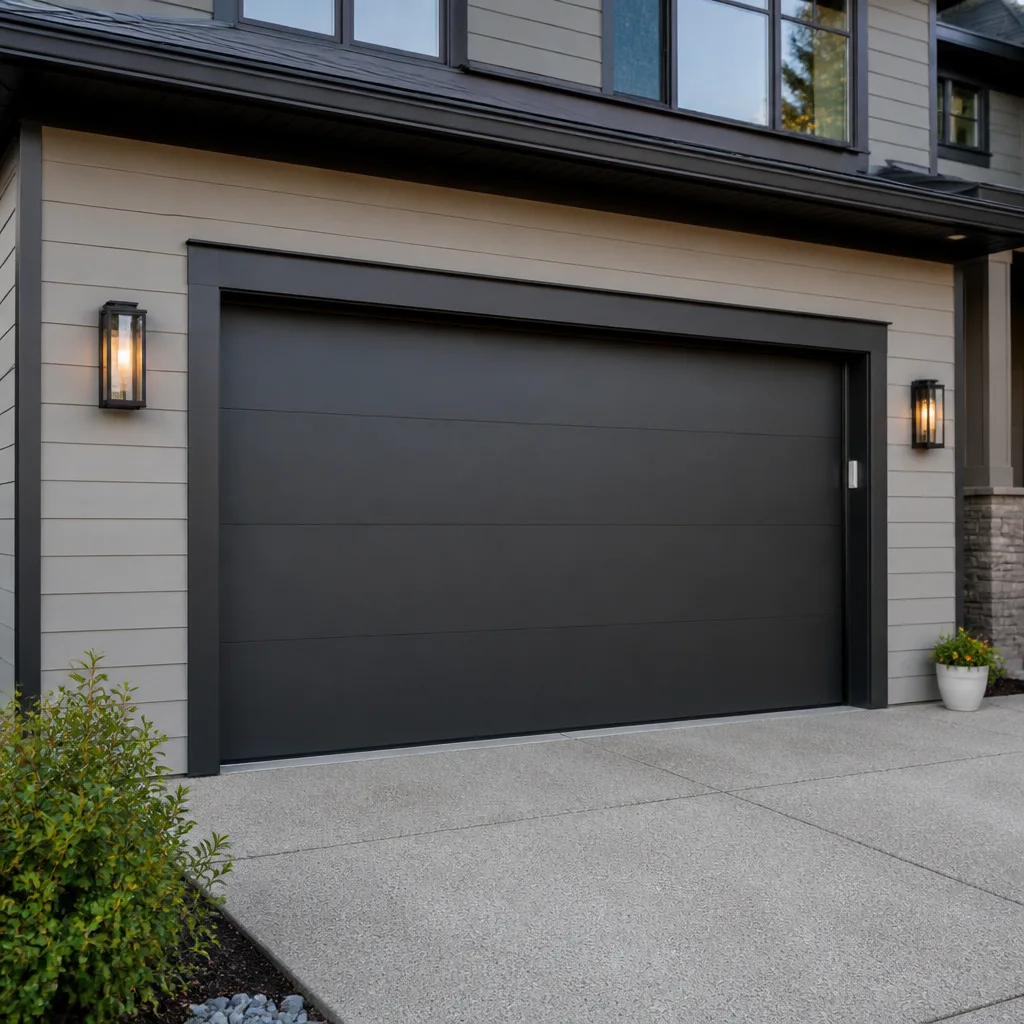 Modern flush
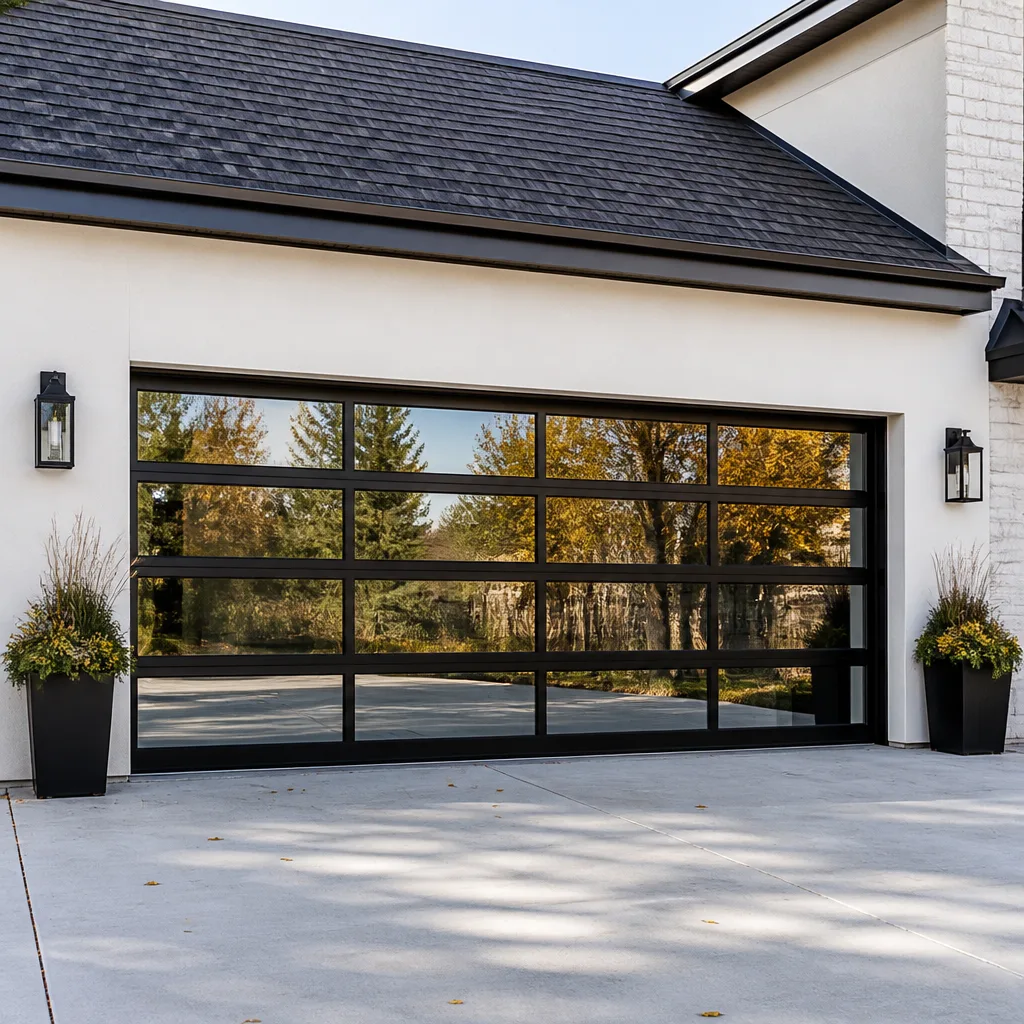 Full-view glass
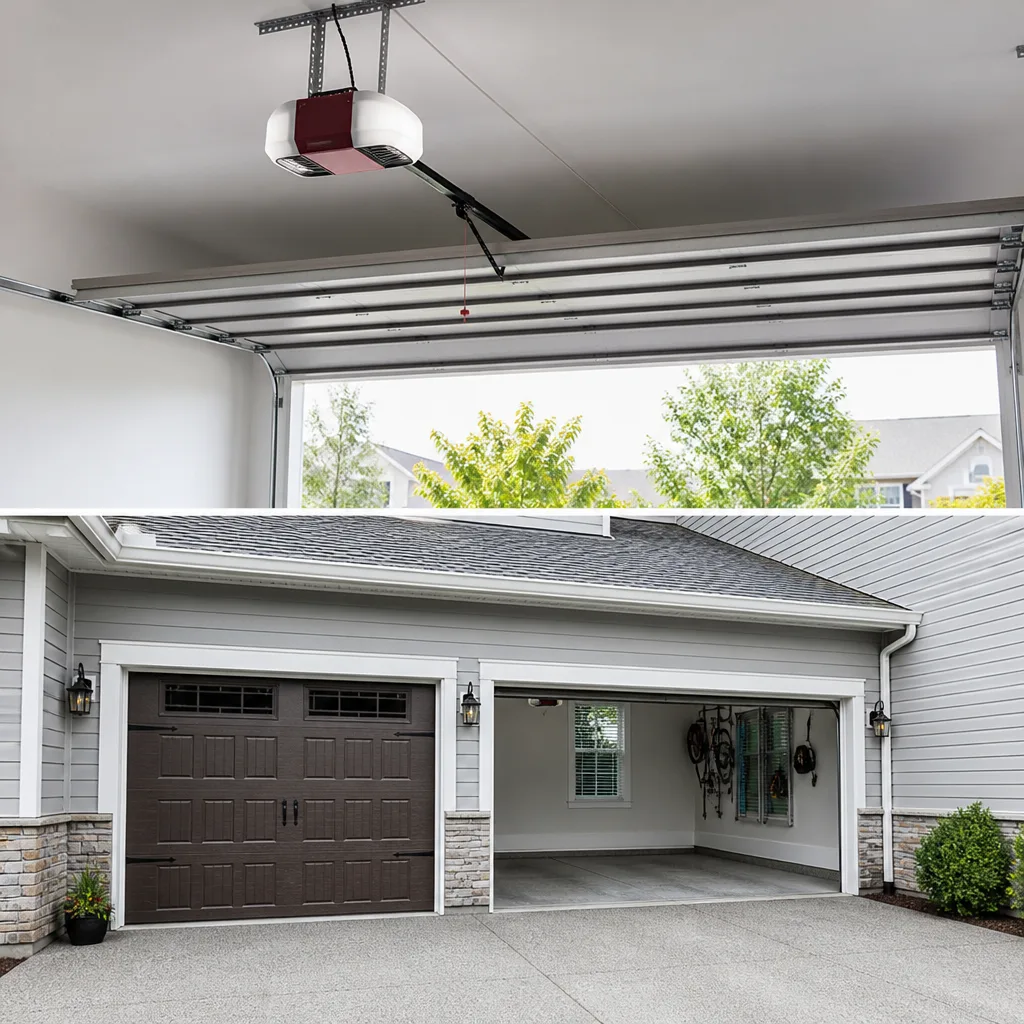 LiftMaster openers
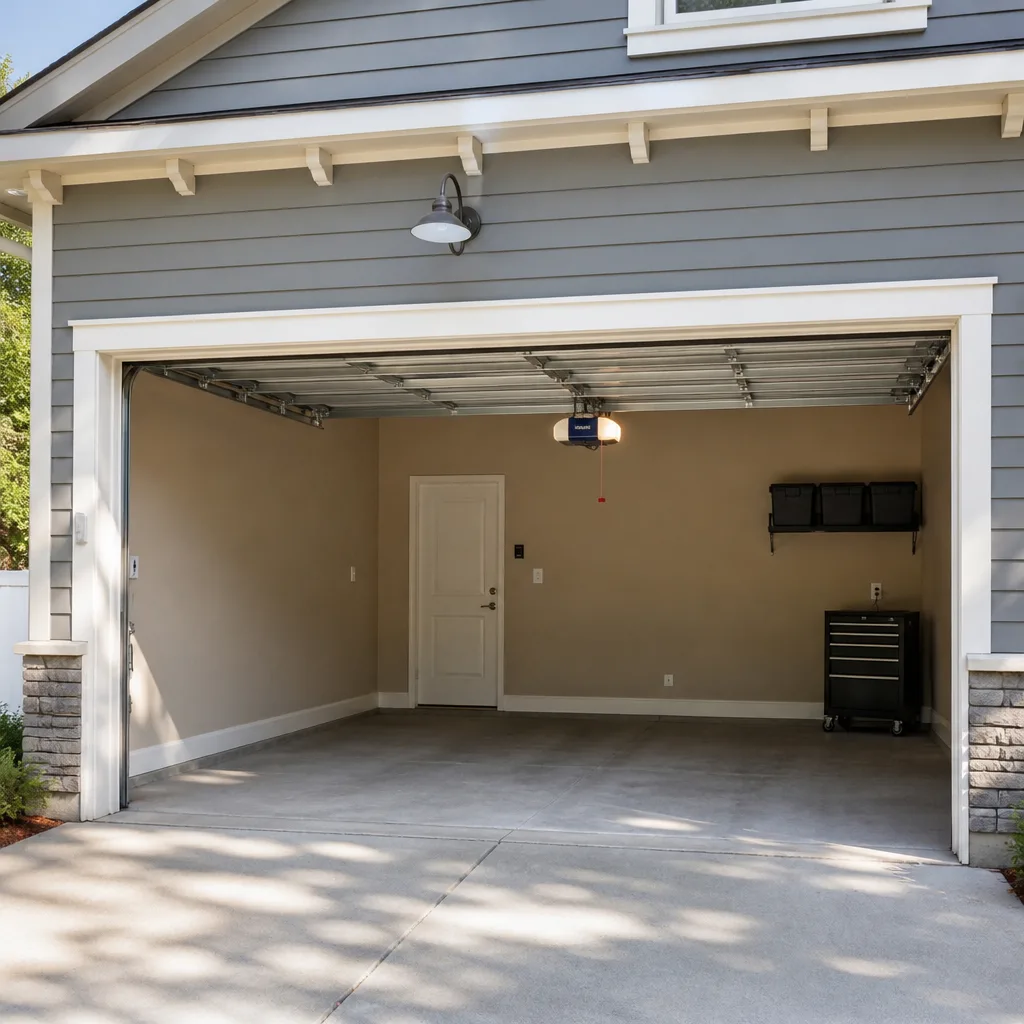 Chamberlain openers
Full 25-point door and opener safety check with every visit - springs, cables, rollers, tracks, and your LiftMaster or Chamberlain opener included
You get a price before we start. It does not change when the truck arrives.
Get your free estimateGarage Door Repair Maintenance Checklist for The Villages Homeowners
The number one cause of premature garage door spring failure in Florida isn’t age. It’s the wrong lubricant applied to the right part, because the homeowner followed a checklist written for Ohio winters. Here’s what that means for you: most garage door maintenance advice online is generic, written for a national audience with no idea what Central Florida humidity does to metal, seals, and moving parts. This guide replaces that generic advice with a maintenance routine built for The Villages specifically. You’ll learn which tasks matter monthly, which products actually work in our climate, and where the line sits between safe DIY care and work that belongs with a trained technician from our Garage Door Repair team.
Quick Answer
A proper garage door maintenance checklist for The Villages homeowners includes monthly visual inspections of springs, cables, and rollers; quarterly lubrication with Florida-appropriate products; semi-annual weather seal checks for UV damage; and annual professional inspection of spring tension, opener force settings, and track alignment. The two highest-impact tasks are lubricating moving parts with a silicone or lithium-based product that won’t attract humidity-driven corrosion, and catching rust on fasteners and track joints before it spreads.
Styles & brands we work with
Table of Contents
- The Monthly Visual Inspection That Catches 80% of Problems Early
- Florida-Specific Lubrication: What Works, What Corrodes, What to Skip
- Weather Seal Inspection for Central Florida UV and Humidity
- Rust-Prone Fasteners and Track Joints: The High-Humidity Checklist
- Seasonal Maintenance Schedule for The Villages
- Documenting Maintenance for HOA Compliance and Resale Disclosure
- The Clear Line Between DIY Maintenance and Professional Repair
- Common Mistakes to Avoid
- When to Call a Professional
- Frequently Asked Questions
The Monthly Visual Inspection That Catches 80% of Problems Early
Most garage door failures don’t happen suddenly. They announce themselves weeks in advance through small visual and audible changes that go unnoticed until the door stops working entirely. In The Villages, where many homeowners use their garage door as a primary entry point multiple times daily, these warning signs compound quickly. A ten-minute monthly inspection catches the vast majority of issues before they become emergency calls.
Here’s the exact process we recommend, in order:
- Watch the door open and close fully, twice. Stand inside the garage and observe from the side, not directly beneath the door. Look for hesitation at any point in the travel, uneven movement between the left and right sides, or a door that appears to speed up or slow down unexpectedly.
- Listen for new sounds. A garage door should produce a consistent mechanical hum from the opener and a light rolling sound from the rollers. Grinding, squeaking, popping, or rattling that wasn’t there last month means something is wearing or loosening. A popping sound near the spring area warrants an immediate call, not a wait-and-see approach.
- Check the balance manually. Pull the emergency release cord (with the door closed) and lift the door by hand to waist height. It should stay in place on its own. If it drifts down or feels unusually heavy, the springs are losing tension. This is a diagnostic check only. Do not attempt to adjust spring tension yourself.
- Inspect cables on both sides. Look at the cables running from the bottom brackets up to the drums near the top of the door. Frayed strands, rust spots, or slack in the cable mean replacement is needed soon. Cables under tension can cause serious injury if they snap while you’re near them, so visual inspection only.
- Scan the track system. Both vertical and horizontal tracks should be clean, free of debris, and properly aligned with a consistent gap from the door edge. Look for loose bolts where track sections join and where the track mounts to the wall.
- Test the auto-reverse function. Place a roll of paper towels or a 2×4 flat on the floor under the door’s path. Close the door. It should reverse within two seconds of contacting the object. If it doesn’t, stop using the door and call for opener repair immediately. This is a safety system, not a convenience feature.
This monthly routine takes about ten minutes once you know what you’re looking for. The Villages weather means your door cycles through more thermal expansion and contraction than doors in more temperate climates, so consistency matters more here than it would elsewhere.
Florida-Specific Lubrication: What Works, What Corrodes, What to Skip
Florida is a high-salinity, high-humidity environment, even this far inland. The air in The Villages consistently carries enough moisture that certain lubricants become liabilities rather than solutions. Products that work fine in dry climates attract dust, trap moisture against metal surfaces, or break down into a sticky residue that accelerates wear on your rollers, hinges, and springs.
The single most important lubricant rule for a Florida garage door: use a silicone-based or lithium-based spray lubricant designed specifically for garage doors, never WD-40. WD-40 is a solvent and water displacer, not a lubricant. It strips protective coatings and leaves metal vulnerable to the exact corrosion you’re trying to prevent. In humid air, WD-40 evaporates quickly and leaves parts drier than they were before.
Here’s what to use, what to skip, and why, based on what we’ve seen in doors across The Villages over years of service calls. For deeper help diagnosing issues, see our Garage Door Repair Troubleshooting: Common Problems and How to Fix Them:
- Garage door-specific silicone spray: Best all-around choice for rollers, hinges, and tracks. Repels moisture rather than absorbing it. Doesn’t attract dust or grit. Apply lightly every three months.
- White lithium grease: Good for metal-on-metal contact points like hinge pins and the opener rail. Heavier than silicone, so it lasts longer on high-friction points. Use sparingly. Excess lithium grease cakes in humid air and becomes a grinding paste.
- Garage door spring lubricant (silicone or lithium-based): Springs need lubrication on the coils only, never on the mounting hardware. A light coat down both sides of each spring extends life and prevents rust. In coastal-adjacent humidity, unlubricated springs rust from invisible micro-pitting.
- What to skip entirely: WD-40, penetrating oils, cooking sprays, motor oil, axle grease. Every one of these either attracts moisture, breaks down garage door components, or voids your door’s remaining warranty.
- What about the tracks? Do not lubricate the track channel where the rollers ride. Tracks need to stay dry and clean. Lubricant in the track channel collects dust and makes the door bind. Wipe tracks with a dry cloth instead.
Our team regularly works on doors from Amarr, Wayne Dalton, and Craftsman, and the pattern we see is consistent: doors with proper silicone-based lubrication on the rollers and springs last significantly longer between spring failures and roller replacements than doors that were either left dry or lubricated with the wrong product. The right lubricant, applied on a schedule, is the cheapest insurance you can buy for your garage door.
Weather Seal Inspection for Central Florida UV and Humidity
The weather seals on your garage door take a beating that most homeowners never consider. The bottom seal faces constant contact with a concrete floor that heats up in the Florida sun. The side and top seals face direct UV exposure during the hottest parts of the day. In The Villages, with its intense summer sun and regular afternoon thunderstorms, weather seals degrade faster than they do in most of the country.
A failed weather seal does more than let rain water in. It allows humid air to enter the garage consistently, which accelerates corrosion on everything metal inside: the door panels, the tracks, the opener motor housing, the springs, and anything else stored in the space. It also invites pests, which is a real concern in Florida. Palmetto bugs, lizards, and rodents all find their way through gaps that start small and widen as the seal degrades.
Here’s the inspection routine that catches seal failure before it becomes a moisture problem:
- Bottom seal visual check, monthly. With the door closed, look for daylight visible under the door from inside the garage. Any visible gap means the seal is compressed, torn, or shifted out of its channel. Run your hand along the seal looking for stiffness, cracking, or brittleness.
- Side and top seal check, quarterly. With the door closed and lights off in the garage during daytime, look for light around the perimeter. Light means the seal isn’t making contact with the frame. This is a UV damage indicator: seals that were once pliable become hard and flattened through repeated sun exposure.
- Pinch test, semi-annually. Pinch the bottom seal material between your fingers. A healthy seal compresses and springs back. A UV-damaged seal stays compressed or cracks. The difference is immediately obvious once you feel it, and it’s the most reliable way to gauge remaining life.
- Look for channel separation. The bottom seal fits into a retainer channel on the bottom of the door. If the seal has pulled away from the channel at any point, water and humidity enter at that spot. Replacing a bottom seal typically requires removing the old seal and sliding a new one through the channel, which is manageable for a confident DIYer but easy to get wrong if the channel itself is damaged.
If you have a The Villages home with a western-facing garage door, you can expect seal degradation on an accelerated timeline. That door takes full afternoon sun, which is the harshest light of the day. West-facing seals typically need replacement every two to three years compared to four to five years for shaded or north-facing doors.
Rust-Prone Fasteners and Track Joints: The High-Humidity Checklist
Rust is the slow-moving enemy of every garage door system in Florida. It rarely causes a dramatic failure by itself. Instead, rust works at the margins, seizing fasteners so they can’t be adjusted, weakening track joints so they shift out of alignment, and creating friction in places that should move freely. By the time a rust problem is obvious, the damage has been accumulating for months.
The most rust-prone points on a garage door in The Villages are:
- Track mounting bolts and brackets: Every point where the track attaches to the wall or ceiling is a humidity collection point. Condensation forms on these bolts during temperature swings, and rust follows. Check these bolts monthly for orange discoloration or flaking.
- Bottom bracket fasteners: The brackets that connect the cables to the bottom of the door sit near the floor, where they encounter splashing during heavy rain and standing moisture after storms. Rust on bottom brackets compromises the cable connection, and a cable failure under tension is the most dangerous single event in garage door mechanics.
- Hinge plates on the door panels: The metal hinges connecting each panel collect rust at the pivot points. Hinges that rust in place restrict door movement and accelerate roller wear. A light coat of silicone lubricant on hinge pins during your quarterly lubrication routine prevents most hinge rust.
- Spring coils and mounting hardware: Surface rust on spring coils is normal and mostly cosmetic. But rust on the spring mounting cones, the center bracket, or the adjustment hardware indicates a deeper problem. Springs under rust stress can fail unpredictably.
- Opener rail and chain/belt drive: Chain drives rust visibly over time. Belt drives don’t rust, which is one reason many The Villages homeowners prefer them. The rail itself, regardless of drive type, collects condensation and can rust at the seams where sections join.
The fix for early rust is simple: clean the affected area with a dry cloth, apply a rust inhibitor or silicone protectant, and monitor. The fix for advanced rust, where the metal is flaking or the fastener is seized, is replacement. A seized track bolt that won’t turn during an alignment adjustment turns a simple repair into a bigger job. Catching rust early, before it locks things in place, is the point of the monthly visual check.
Seasonal Maintenance Schedule for The Villages
Florida doesn’t have winter, but it does have seasonal patterns that affect your garage door. The Villages experiences a wet season from roughly May through October and a dry season from November through April. Each season stresses different components, and your maintenance schedule should reflect that.
Dry season (November through April): This is the ideal time for the more involved maintenance tasks. Lower humidity means lubricants apply more predictably and rust progression slows. Use this window for spring inspection, cable inspection, track cleaning, and any seal replacement that’s been deferred. The cooler months are when you want to schedule a professional tune-up if you’ve been putting it off.
Wet season (May through October): Daily afternoon thunderstorms mean your door cycles through more humidity swings. Condensation forms on metal parts overnight. The monthly visual inspection matters more during this window. Pay extra attention to rust formation on fasteners and brackets. If you hear squeaking that wasn’t there in April, address it now rather than waiting. Lubricant breaks down faster in high humidity, so quarterly lubrication should align with the wet season’s start and midpoint.
Hurricane season considerations: Garage doors in Florida face a unique threat during hurricane season. A properly maintained door is significantly more resistant to wind damage than a neglected one. Check that all track bolts are tightened, hinges are secure, and the door is properly balanced before hurricane season peaks in August and September. A door that’s out of balance is more likely to sustain structural damage in high winds.
Here’s the seasonal checklist mapped to the calendar:
- January-February: Professional annual inspection. Balance test. Spring condition assessment. Full track and roller inspection.
- March-April: Weather seal replacement if needed. Clean and dry tracks. Check opener force settings.
- May-June: First wet-season lubrication. Rust inspection on all fasteners. Auto-reverse safety test.
- July-August: Second wet-season lubrication. Hurricane season check: all bolts tight, door balanced, nothing loose.
- September-October: Post-storm inspection. Check for water intrusion. Lubricate as needed.
- November-December: End-of-year review. Replace anything worn from the summer. Plan any major work for the dry season.
Documenting Maintenance for HOA Compliance and Resale Disclosure
Many homes in The Villages fall under HOA governance, which can include requirements around garage door appearance, condition, and maintenance. Beyond HOA considerations, Florida’s real estate disclosure requirements mean that when you eventually sell your home, you’ll be asked to disclose known issues with the property. A documented maintenance history for your garage door protects you on both counts.
Here’s what to document and how:
- Keep a simple maintenance log. A notebook or a note on your phone works fine. Record the date, what you inspected, what you lubricated, and anything you noticed that seemed off. Even if you do the work yourself, the log matters.
- Photograph problem areas before and after addressing them. If you notice rust on a hinge, photograph it. After you clean and treat it, photograph it again. These photos are your documentation that maintenance was performed, which matters if an HOA asks questions or if a future buyer questions the door’s condition.
- Save receipts for products and professional service. The silicone spray you bought matters less than the professional tune-up invoice, but keep both. If you use a professional service, keep the invoice with your home records. If you ever need to demonstrate that the door was properly maintained, these receipts are your evidence.
- Note the age and brand of major components. Springs, openers, and weather seals all have expected lifespans. Knowing that your springs are four years old and your opener is seven years old helps you anticipate replacement timing and helps a buyer understand the home’s condition accurately.
- Check your HOA’s specific requirements. Some The Villages communities have rules about garage door color, style, and condition. If your HOA requires a specific appearance standard or has guidelines about visible rust or wear, your maintenance log helps you stay ahead of any compliance letters.
This documentation habit takes minutes per month and compounds in value. The Villages is an active resale market, and a buyer who sees a maintained home, garage included, is a buyer who is less likely to negotiate down on perceived deferred maintenance.
The Clear Line Between DIY Maintenance and Professional Repair
There’s a safe middle ground between doing nothing and calling a pro for every minor issue. But that middle ground has sharp edges. Florida garage doors operate under serious tension, and certain components can cause life-changing injury if mishandled. The line between DIY and professional is not about skill level or confidence. It’s about stored energy.
Safe to do yourself, with basic tools and reasonable caution:
- Monthly visual inspection of all components
- Lubricating rollers, hinges, springs, and the opener rail
- Cleaning the track channels with a dry cloth
- Testing the auto-reverse function
- Checking weather seals and documenting their condition
- Tightening loose hinge bolts and track mounting bolts (when accessible without removing components)
- Replacing the bottom weather seal, if you’re comfortable working under the door with it fully open and supported
Never attempt yourself. Call a professional:
- Anything involving the torsion springs. These springs are wound under hundreds of pounds of torque. A spring that releases unexpectedly can cause fatal injury. Spring adjustment, spring replacement, and any repair that requires unwinding a spring are professional-only work.
- Cable repair or replacement. Cables work in tandem with the springs. The same stored energy that makes springs dangerous makes cable work dangerous. If you see a frayed cable, don’t touch it. Call.
- Track realignment when the track has shifted significantly. Minor bolt tightening is fine. Bending a track back into alignment or replacing a track section requires removing and reinstalling parts under tension.
- Opener motor replacement or any work involving the opener’s internal electronics. The opener’s logic board, motor, and force settings are not DIY territory. Incorrect force settings create a door that won’t reverse when it should, which is a safety hazard.
- Any repair where you feel uncertain about the source of the problem. If the door makes a sound you can’t identify or moves in a way you can’t explain, the risk of guessing wrong outweighs the cost of a professional diagnosis.
We’ve said it before and we’ll say it again: garage door springs and cables under tension are the most dangerous components in a residential home. No maintenance checklist survives contact with an improperly handled torsion spring. When in doubt, call.
Common Mistakes to Avoid
- Using WD-40 on any part of the door. WD-40 is not a lubricant. It displaces moisture temporarily and then evaporates, leaving parts drier and more vulnerable to rust than they were before. In Florida’s humidity, that’s a slow-motion disaster.
- Lubricating the track channel. The track where rollers ride should stay clean and dry. Lubricant in the channel collects grit, creates friction, and makes the door bind. Lubricate the rollers, hinges, and springs, not the track.
- Ignoring a noisy door because it still works. Squeaks, grinding, and popping sounds are warning signs, not personality quirks. A popping sound near the spring area specifically indicates spring fatigue and warrants immediate professional attention.
- Skipping the balance test because the door opens fine. An unbalanced door works right up until the springs fail completely. The balance test takes thirty seconds and is the single most predictive maintenance check you can perform.
- Deferring weather seal replacement. A damaged bottom seal lets humid Florida air into the garage continuously, accelerating corrosion on every other component. Replacing a seal is inexpensive compared to the damage an unreplaced one causes.
- Attempting spring or cable work without training. This can’t be overstated. Garage door springs kill people every year. No maintenance guide that recommends DIY spring work is a guide worth following.
- Assuming the door manufacturer’s included checklist applies to Florida. The maintenance schedule included with your door was written for a national audience. It doesn’t account for The Villages humidity, UV exposure, and rainfall patterns. Use a Florida-specific schedule like the one in this guide.
When to Call a Professional
Call a professional any time the issue involves springs, cables, or significant track problems. Also call when your opener stops responding to remotes or keypads, when the door reverses unpredictably, or when a visual inspection reveals something you can’t confidently identify. A professional diagnosis costs less than the damage a misdiagnosed problem can cause. Never hesitate to call when stored energy is involved, when the door’s safety systems aren’t functioning, or when you’ve noticed a change you can’t explain. The Villages Garage Door Service offers free estimates in The Villages. Call (855) 382-0952 and one of our technicians will diagnose the issue and quote the repair before any work starts.
Frequently Asked Questions
In The Villages, lubricate your garage door’s rollers, hinges, and springs every three months. The high humidity here breaks down lubricants faster than in drier climates, and the thermal cycling from our hot days into humid evenings accelerates the process further. Use a silicone-based or lithium-based spray designed for garage doors, and never use WD-40.
The monthly visual inspection is the most important task, because it catches wear and rust before they become failures. The inspection includes the balance test, cable check, track scan, auto-reverse test, and a listen for new sounds. Ten minutes a month prevents most emergency service calls.
No. Torsion springs are wound under hundreds of pounds of torque and can cause fatal injury when they release unexpectedly. Spring replacement and spring adjustment are professional-only work. If your garage door springs need attention, call a professional immediately.
Summer in The Villages means near-daily thunderstorms, which create dramatic humidity swings. Metal parts expand and contract through these swings, and lubricant breaks down faster. The result is more friction and more squeaking. Quarterly lubrication becomes especially important during the wet season, from May through October.
Look for daylight visible under the closed door, brittleness when you pinch the material, or separation from the retainer channel. Weather seals on west-facing garage doors in The Villages typically need replacement every two to three years due to intense afternoon sun exposure. Seals on shaded doors may last four to five years.
We work on the brands most common in The Villages homes, including Amarr, Wayne Dalton, Craftsman, and Raynor. Our technicians are familiar with the specific parts, mechanisms, and quirks of each brand’s doors, which means we diagnose and fix the actual system you own rather than treating every door as generic. Call (855) 382-0952 for a free estimate.
The Bottom Line
A garage door in The Villages faces a specific set of environmental challenges that generic maintenance advice doesn’t address. Our humidity corrodes fasteners, our UV degrades weather seals, and our thermal cycling stresses springs in ways that Ohio winters never could. The fix is a Florida-specific routine: monthly visual inspections, quarterly lubrication with the right products, semi-annual seal checks, and a firm line between what you handle yourself and what you leave to professionals. Document what you do. Replace what’s worn before it fails. And when something involves springs, cables, or opener electronics, stop and call. The The Villages Garage Door Service home page is a good starting point to understand the full range of what we do, from Garage Door Repair in Mascotte to Garage Door Opener Repair in Mascotte and Garage Door Installation in Mascotte. We’re your neighbors’ garage door specialist, and we’re glad to help.
Written by the team at The Villages Garage Door Service, serving The Villages since 2016. Explore more guides & resources on our blog.
See the difference
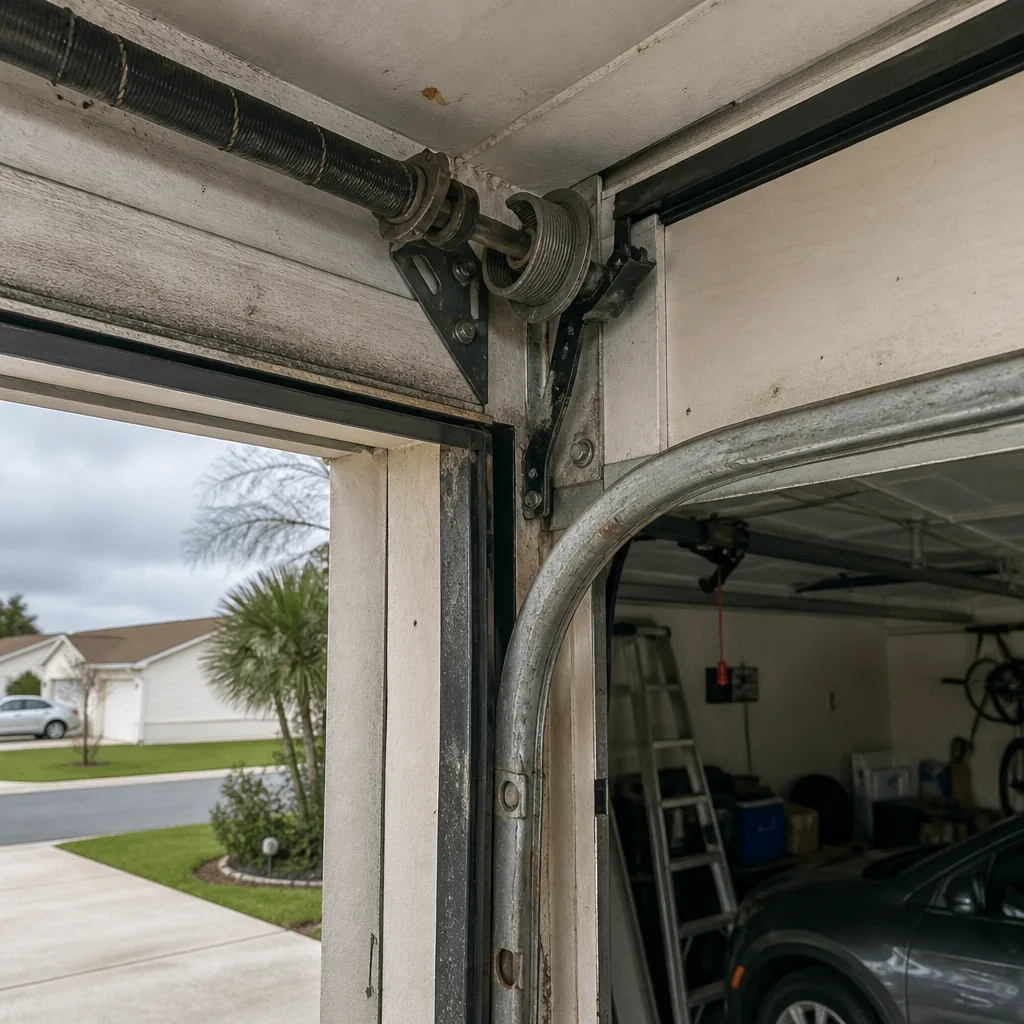 Before
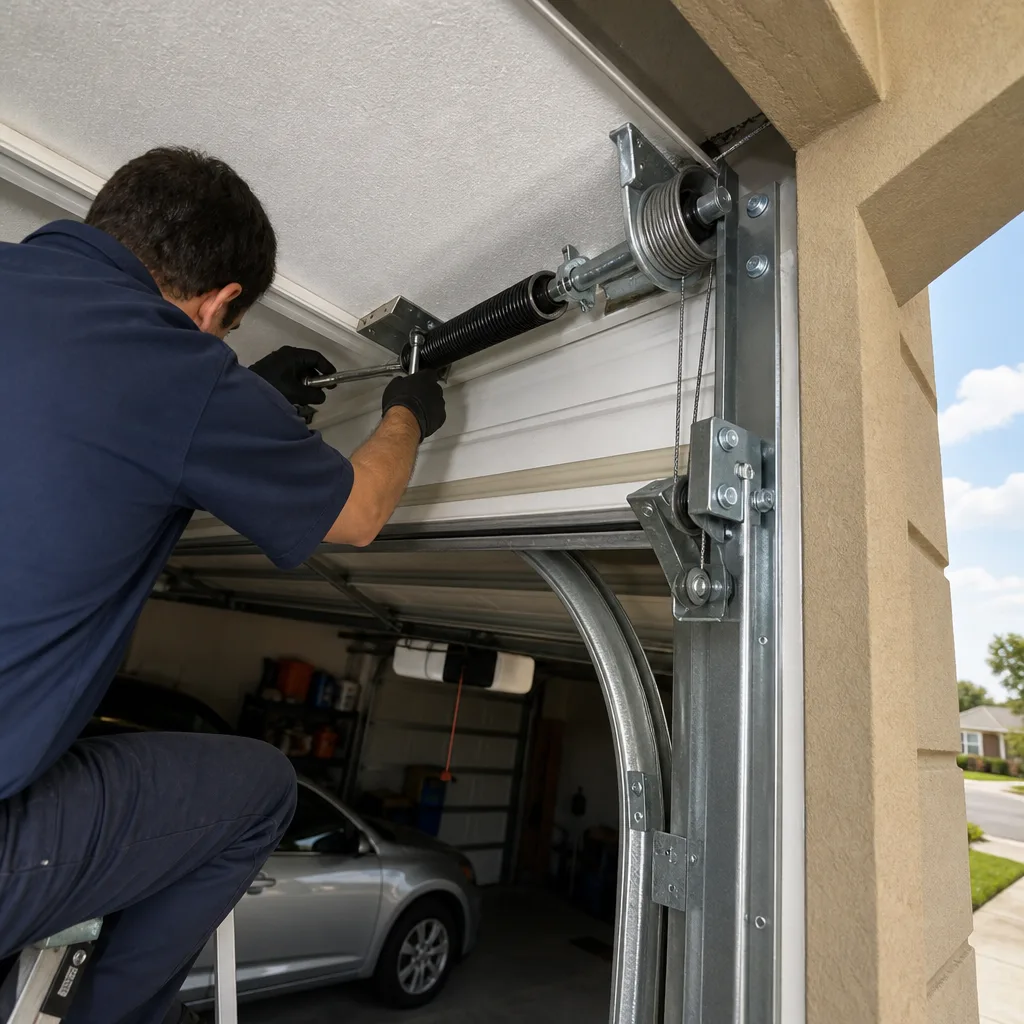 After
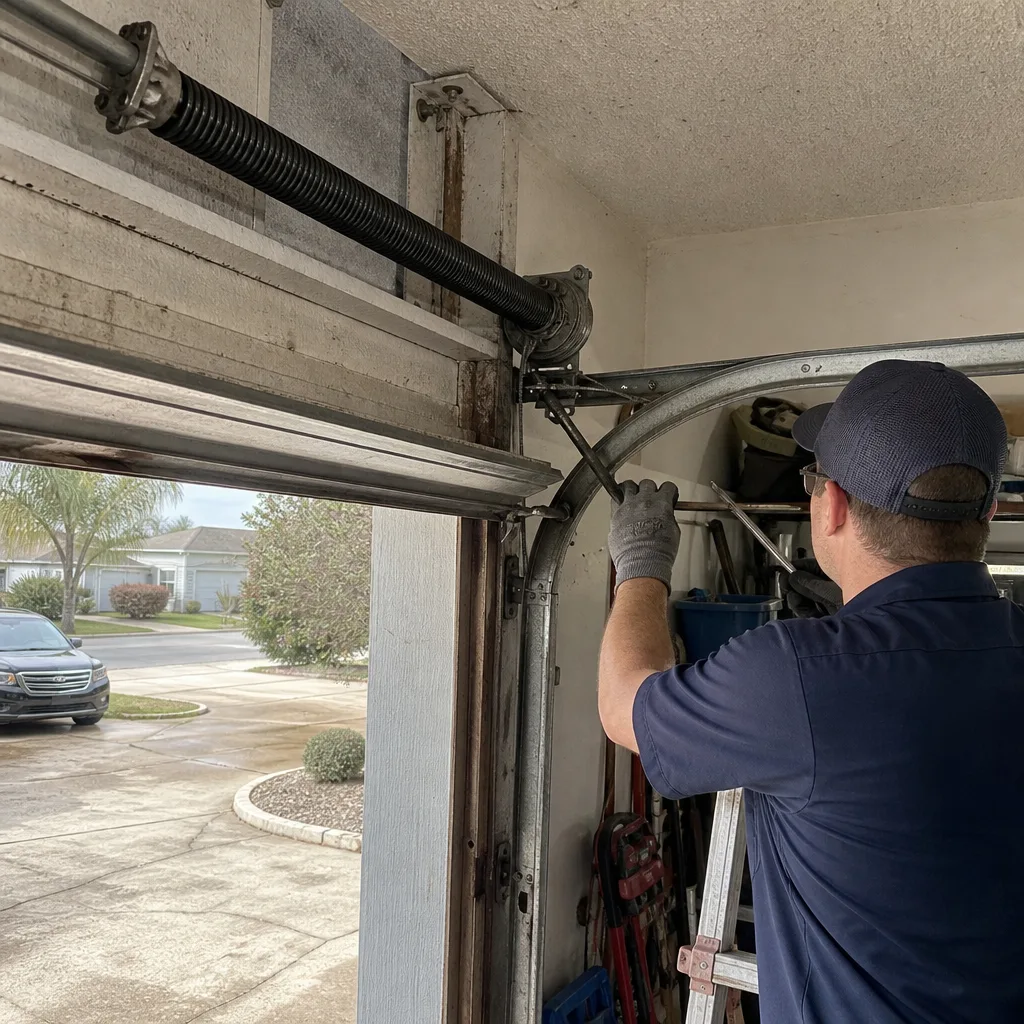 Before
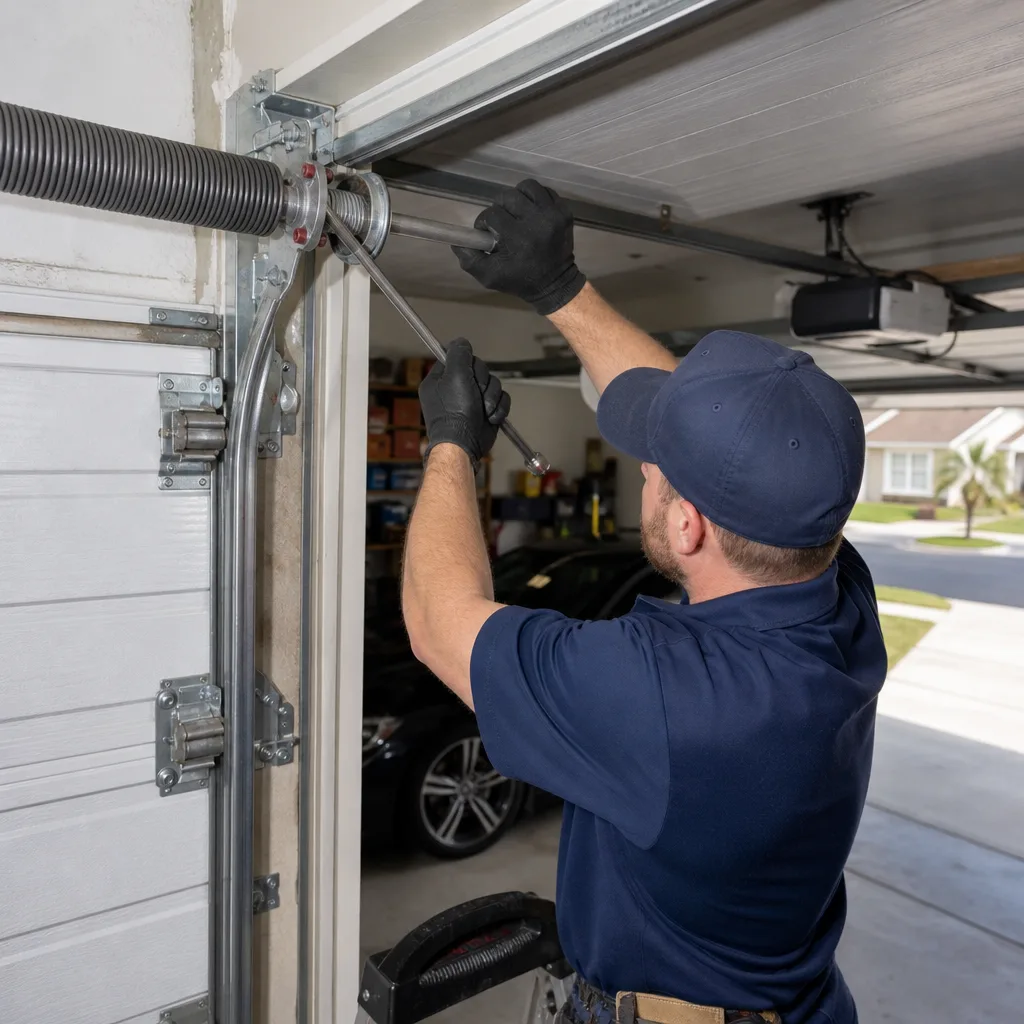 After
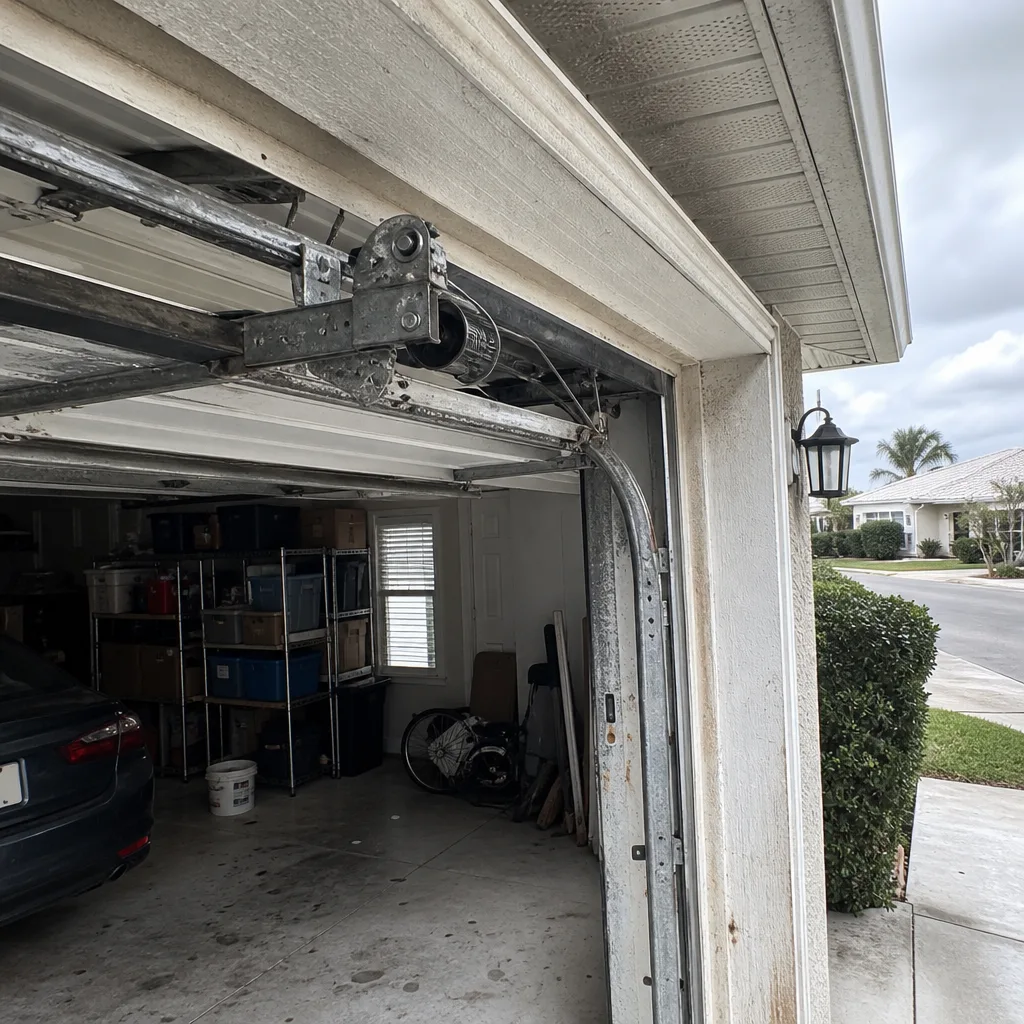 Before
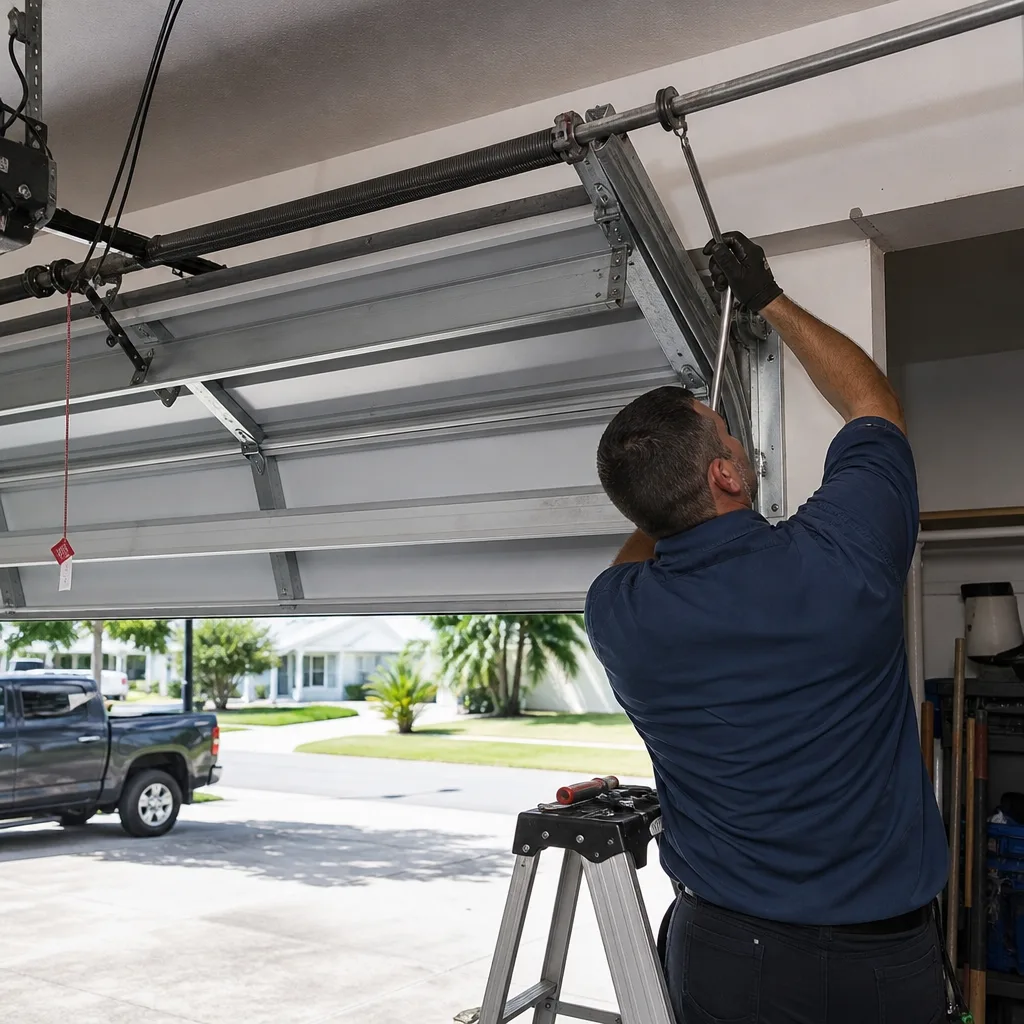 After